Dry point (negative)
Materials:
- arabic gum
- nitric acid
- asphalt
- turpentine
- rosin and talc
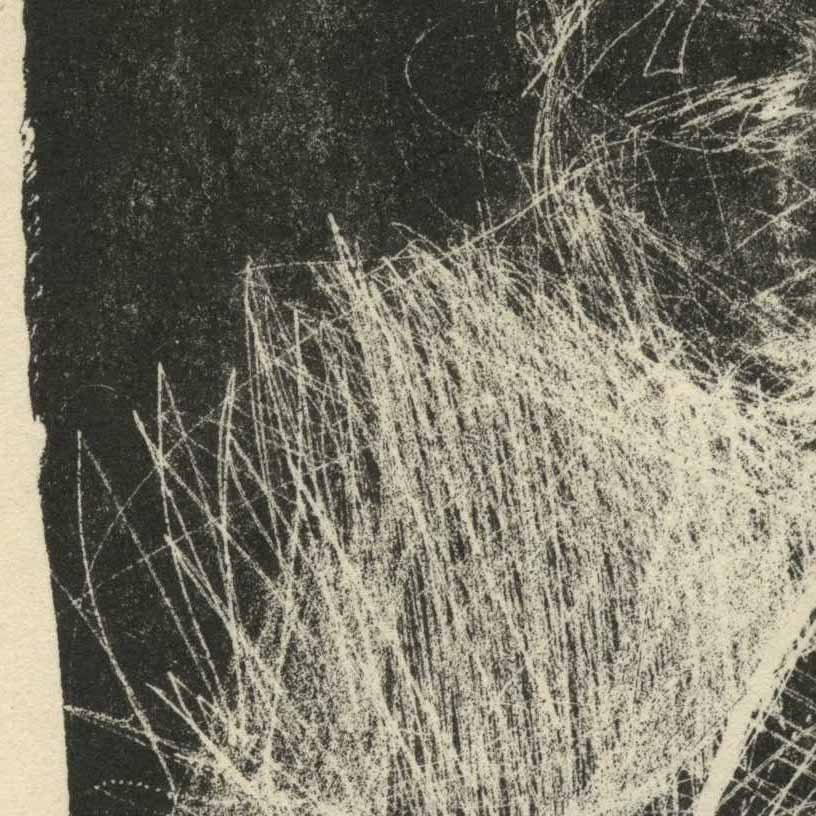

The drypoint on stone technique can be performed both in positive and in negative, depending on initial preparation and subsequent steps.
With this technique (both negative and positive) it is possible to achieve extremely thin, sharp lines – the thinnest available on the stone. It is simple to do. You can draw not only with a needle but also with any material or tool that can leave a mark on a stone blackened with ink or asphalt. The drawing can be added even during printing, but always needs to be followed by etching.
Dust an area covered with printing ink with rosin and talc.
* Drawing does not require prior black area preparation. You can scrape in an existing drawing, not necessarily in full black. However, if we care about a sharp, detailed drawing with a needle – it’s a good idea to prepare a uniform, flat background on a finely grained stone.
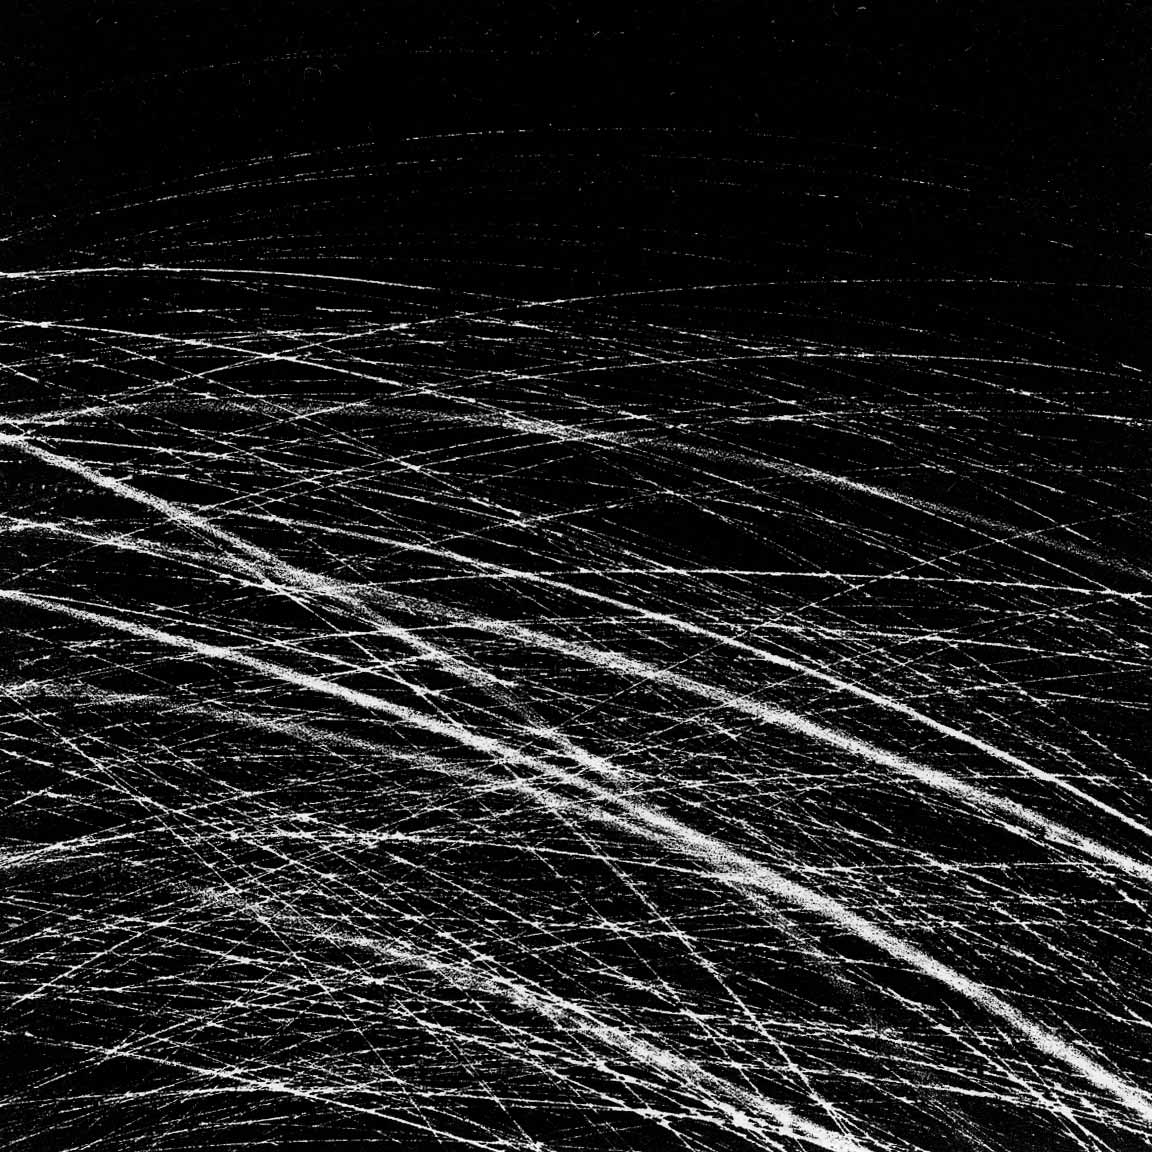
Draw with a needle or other sharp, scratching tool (sandpaper, scalpels, blades…), remembering to wipe the stone with water to remove the material scratched away and prevent it from sticking back to the stone.
Then the scraped surface needs to be strongly etched. It is not necessary to use rosin and talc since they are still stuck to ink. The etching should be strong, gas bubbles should be visible at the point of contact of the etching substance with the surface of the stone.
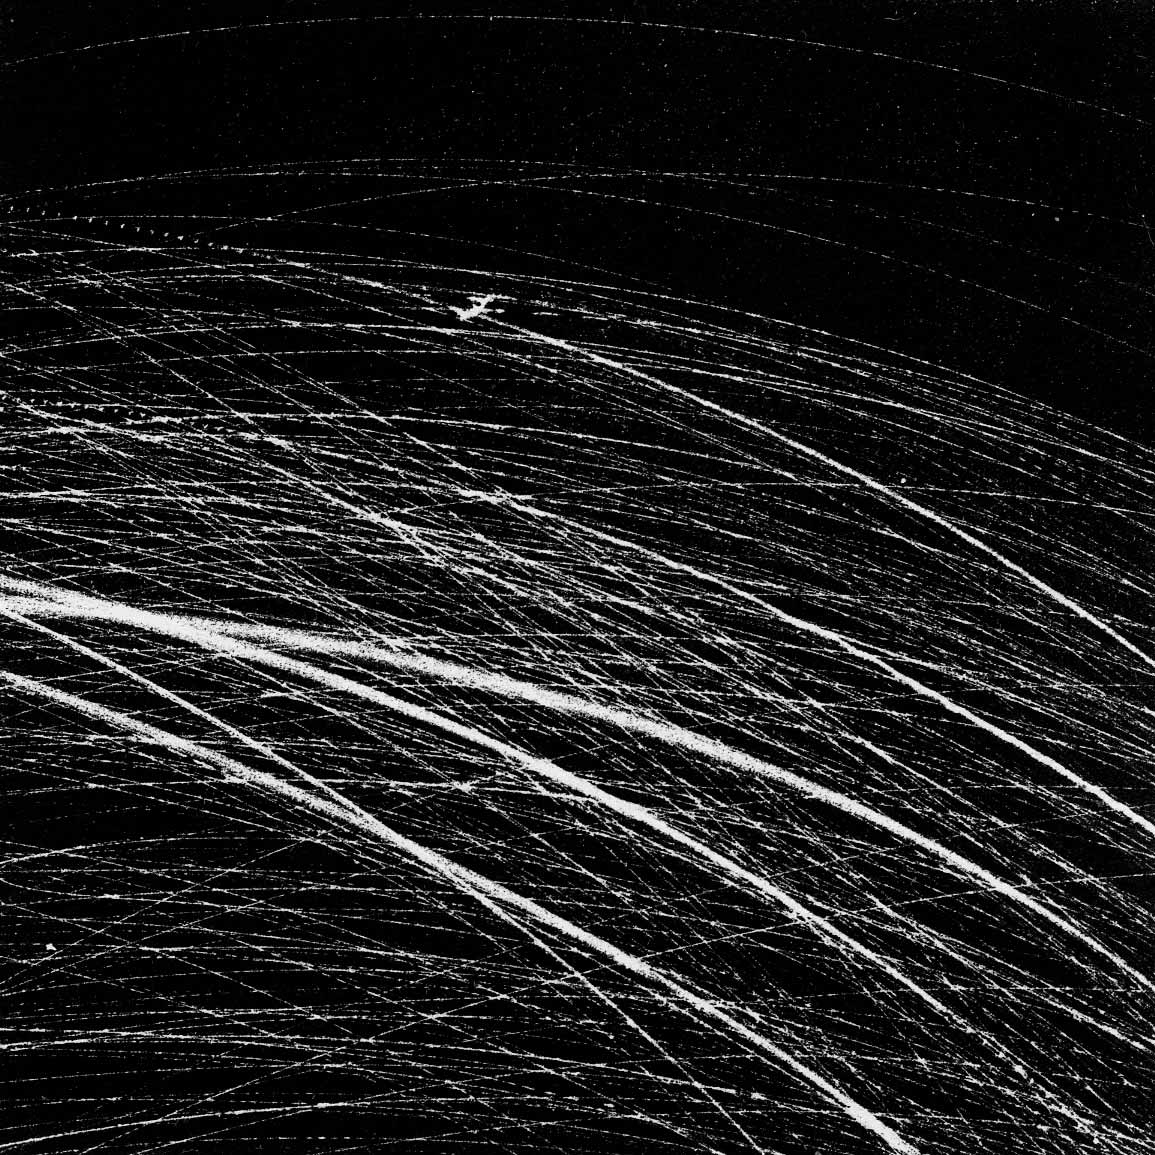
The dried drawing can be washed off with turpentine, rubbed with asphalt and damped to print. Drawing does not require a second etching.
* Sometimes during printing particularly delicate thin lines can be filled with paint – then you should repeat the etching and shorten the printing ink with magnesium or a suitable varnish.